Free shipping over $99. Easy returns. Satisfaction guaranteed.

Netgear Nighthawk 4G LTE Hotspot M1 (MR1100) External Antenna Guide

Updated:

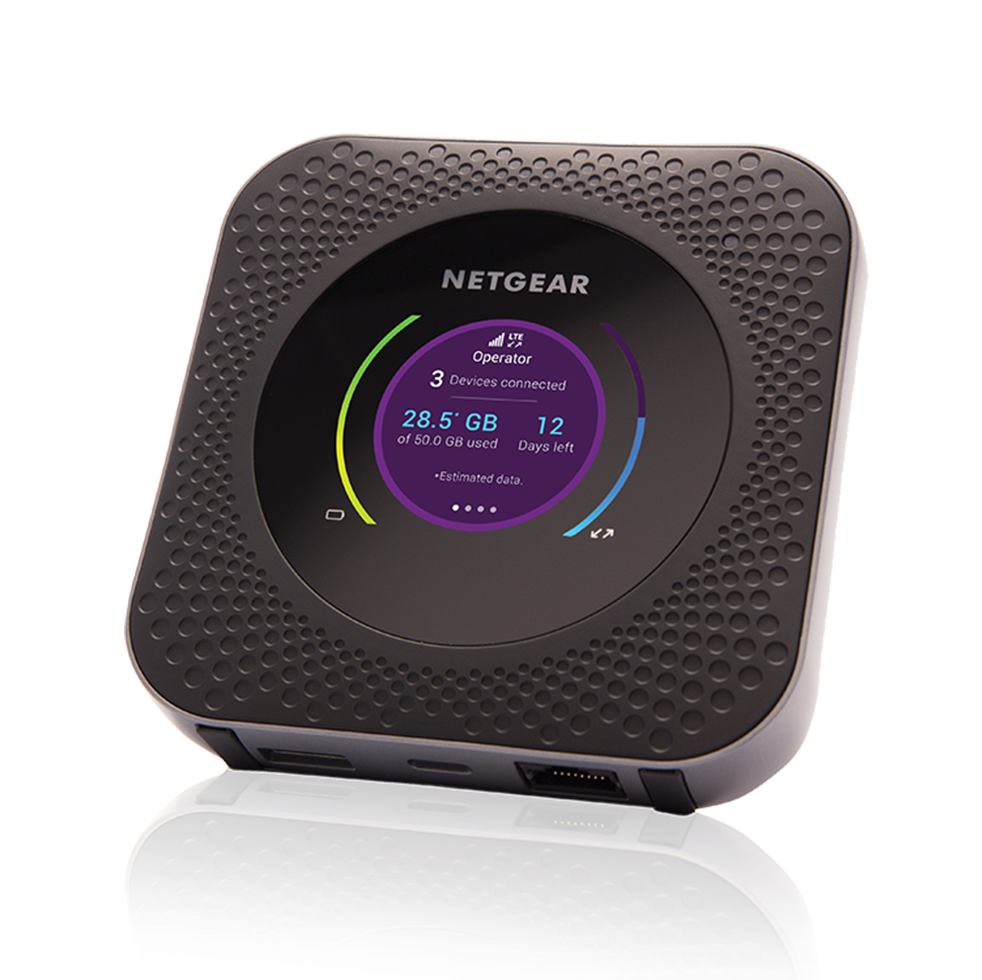
Looking to get the best possible data rates from your Netgear Nighthawk M1?

You’ll want to purchase and connect external MIMO antennas to the device’s two TS9 ports.

In this guide, we'll:

  • Recommend the best external antennas to use.
  • Show where the TS9 ports are located.
  • Explain how to aim the antennas for best results.

In this guide

The Best External Antennas For the Netgear Nighthawk M1

Using a MIMO antenna outside your building, pointed at the nearest tower, can help you get the fastest LTE data rates possible.

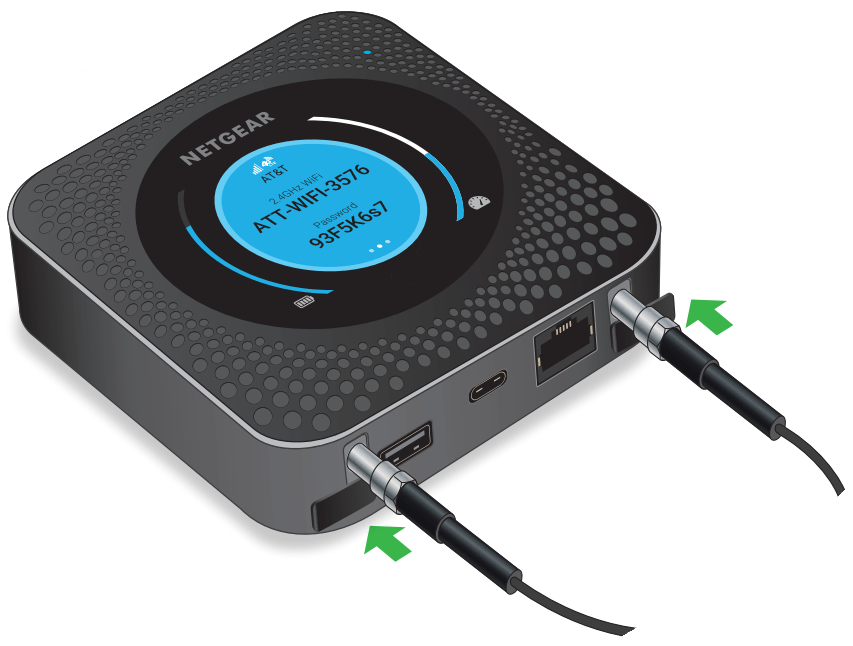
The Netgear Nighthawk M1 has two TS9 ports on the back, which allow for a 2x2 MIMO antenna to be connected to the device.

We recommend two different 2x2 MIMO antenna options for use with the Netgear Nighthawk MR1100 M1:

Best For Most Users

This 2x2 MIMO Panel Antenna Kit will provide meaningful signal improvement, even if you're surrounded by trees, hills, or tall buildings.

For most users the best external antenna choice for the Netgear Nighthawk M1 is our 2x2 MIMO Panel Antenna Kit. This antenna doesn’t require line-of-sight to the tower.

Best With Line Of Sight
No reviews yet

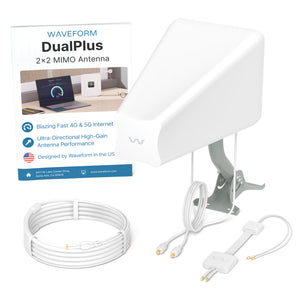
This cross polarized log periodic antenna has higher gain and is more directional. It works best if you have direct line-of-sight to the tower.

However, if you have line of sight to the nearest tower, we recommend using a DualPlus MIMO log periodic antenna kit instead. The higher gain on these antennas can get you better performance, but only when you have a straight shot to the tower.

Finally, if you are planning to use the Netgear M1 in a vehicle, you will want to use the 2x2 Omniroam MIMO antenna. This is a high-performance mobile antenna suitable for use in any size and type of car, van, SUV, or RV.

best for vehicles
No reviews yet

A high-gain mobile antenna suitable for all vehicle types, with three easy mounting options included.

Why External Antennas Are Critical for Improving Data Rates

Most people think that external antennas primarily help you increase your data rates by increasing the signal strength. But that's not the case.

An increase in signal strength is often less important than other ways that external antennas help.

Here are the three main ways that external antennas help you increase your data rates:

1.They Improve Signal Quality

In 4G LTE networks, signal quality is measured as SINR (Signal to Interference plus Noise Ratio) or sometimes as RSRQ (Reference Signal Received Quality).

Improving signal quality has a huge impact on your data rates.

Higher data rates allow your hotspot to communicate using "higher order modulation schemes." That means they can use the same wireless spectrum to send more data per second.

However, there's one big caveat:

In order to improve your signal quality, you need to both aim and shield your outdoor antenna properly. We talk more about this in the next section.

2.They Allow You To Connect On More Bands

Hotspots like the Nighthawk M1 support an LTE feature called "carrier aggregation."

Carrier aggregation allows the Nighthawk M1 to connect on multiple cellular bands simultaneously.

The more bands you're connected on, the greater the bandwidth, and the higher your data rates.

However, many of the higher frequency bands aren't able to penetrate into buildings. Using external antennas allows you to access higher frequency bands, which are often less congested and offer higher speeds than lower frequency bands.

3.MIMO Isolation

MIMO (Multiple Input Multiple Output) technology uses signals travelling along multiple paths simultaneously, increasing both bandwidth and reliability in wireless connections.
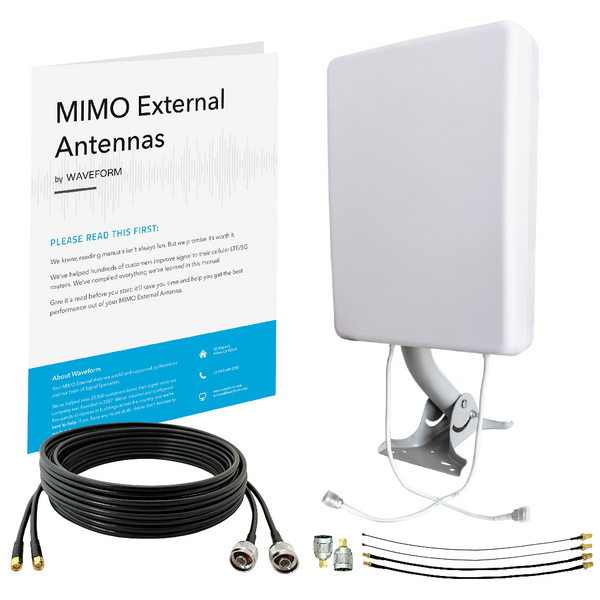
MIMO isolation is the antenna's ability to handle several data streams at once, cleanly and without interference, leading to quicker data speeds and steadier connections

Our external antennas are specifically designed for superior MIMO isolation, and dramatically outperform standard built-in antennas found in most home devices.

This means you'll see a more reliable connection with enhanced bandwidth, ensuring smoother streaming, gaming, and browsing with minimal interruptions.

Positioning and Aiming MIMO Antennas

Positioning and aiming MIMO antennas well is crucial to getting the best performance to your Nighthawk M1, or indeed any other hotspot.

We've actually compiled a detailed instruction manual to accompany our own 2x2 MIMO Antenna Kits, where we go into depth on the best ways to aim the antennas.

The goal is to find the best location and direction for the antenna(s), to maximize data rates to the Nighthawk M1. It can take a little patience, but can have a huge impact – it’s worth a bit of extra effort!

Before getting started, it's always a good idea to run a couple of speed tests indoors from a device connected to your Nighthawk's WiFi. The results will fluctuate a little, but this is the baseline you're trying to improve.

TS9 adapters connected to the Nighthawk M1 MR1100

TS9 adapters connected to the Nighthawk M1 MR1100

Now connect the MIMO antennas to your Nighthawk via the TS-9 ports, like in the image above, and go outside with your "test-rig".

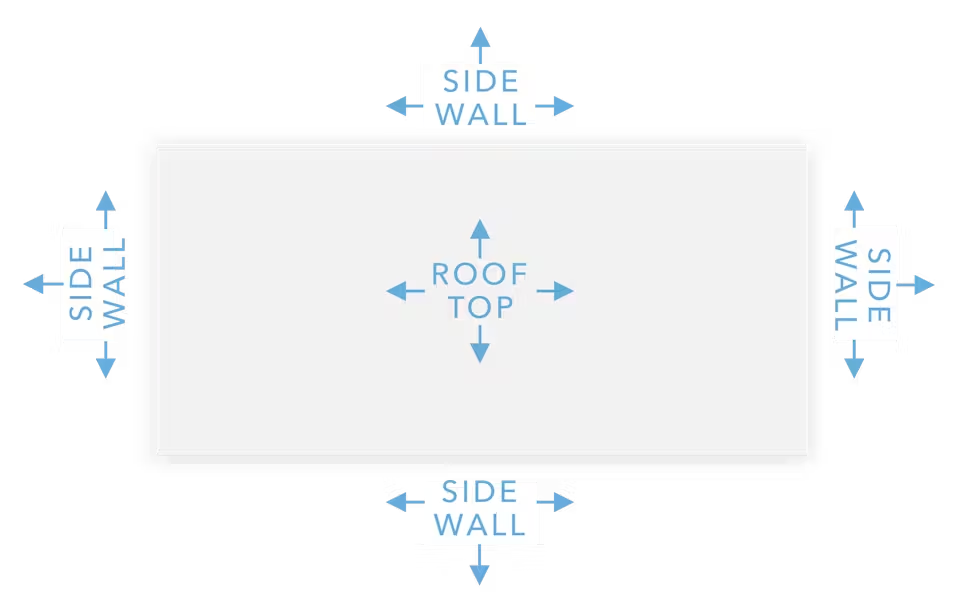
With each location and direction you try, run a couple speed tests, and make a note of the results. Here are all the locations and directions where we recommend testing your MIMO antenna:

Where to test your signal

Where to test your signal

Pro tip: Don’t just go to the highest point of the roof! While signal is generally stronger the higher you go, there’s also often more interference. We’ve found it’s often better to mount the antenna(s) on the side of the building where the structure can shield the antennas from interference.

Once you've found the position which gets you the highest data rates to the Nighthawk, that's where you'll want to install the MIMO antenna. Go ahead and mount the antenna, run cables inside, connect everything up, and enjoy superior data rates!

Band Locking for Better Data Speeds

If you've gone through the trouble of installing and accurately aiming a MIMO Antenna Kit, you're likely already getting excellent data rates from your Nighthawk M5.

That said, there's always more that can be done! If you’d like to go a little deeper and get technical to optimize your system even further, you can experiment with band locking.

The main reason you might want to band lock your Netgear Nighthawk M1 is to get better data rates.

Band-locking isn't something we'd recommend for everyone, but if you're comfortable working in a command shell, it can be a big help.

We've written up a step-by-step guide to band locking the Nighthawk M1 here.

Netgear Nighthawk M1 Technical Specifcations

Supported 4G LTE bands in the US

  • AT&T: B2, B4, B5, B12, B17, B14, B29, B30, B46, B66
  • Verizon: B2, B4, B5, B66, B13
  • T-Mobile: B2, B4, B5, B12, B66, B41, B25, B26, B71

Cellular Modem

  • Model: Qualcomm Snapdragon X16
  • MIMO Support: 4X4 w/ internal antennas, 2x2 w/ external antennas
  • LTE-A Carrier Aggregation: Yes (4x 20MHz channels)
  • LTE Performance Category: Cat 16 Download, Cat 13 Upload
  • Max Theoretical Speeds: 1,000Mbps Download, 150Mbps Upload

Wi-Fi

  • Technologies: 802.11 b/g/n/a/ac
  • Bands: Simultaneous 2.4 GHz and 5.8 GHz

Ports

  • Cellular Antenna Ports: Dual TS-9
  • Other Ports: Ethernet; USB-C (power); micro-SD (internal slot)

Other

  • Can Be Powered Without a Battery: Yes

Other Helpful Resources

A helpful review by Mobile Internet Resource Center

NETGEAR's support page for the Nighthawk M1

Documentation

Comments